Using PixiJS inside a React web app
Overview
A couple of months ago, I was looking for a JavaScript library to use for game projects. I have used Love2D in the past, as well as some of Apple's game frameworks, but I wanted something that would work in the browser. I found PixiJS, which is a 2D rendering engine. It's a lightweight library that, so it can be used to create games and other interactive experiences and isn't too opinionated about how you structure your code.
I wanted something that would work with React since I only wanted the game to be a part of the page. PixiJS does have a React wrapper called pixi-react, but all of the documentation is for writing the graphics code in React syntax instead of using the PixiJS API directly.
Here is what the React syntax looks like:
<Stage width={300} height={300} options={{ backgroundColor: 0xeef1f5 }}>
  <Container position={[150, 150]}>
    <Sprite anchor={0.5} x={-75} y={-75} image="/pixi-react/img/bunny.png" />
    <Sprite anchor={0.5} x={0} y={0} image="/pixi-react/img/bunny.png" />
    <Sprite anchor={0.5} x={75} y={75} image="/pixi-react/img/bunny.png" />
  </Container>
</Stage>
Here is what the PixiJS API looks like:
const app = new PIXI.Application({ width: 300, height: 300, backgroundColor: 0xeef1f5 })
document.body.appendChild(app.view)

const container = new PIXI.Container()
container.position.set(150, 150)
app.stage.addChild(container)

const bunny = PIXI.Sprite.from('/pixi-react/img/bunny.png')
bunny.anchor.set(0.5)
bunny.x = -75
bunny.y = -75
container.addChild(bunny)

const bunny2 = PIXI.Sprite.from('/pixi-react/img/bunny.png')
bunny2.anchor.set(0.5)
bunny2.x = 0
bunny2.y = 0
container.addChild(bunny2)

const bunny3 = PIXI.Sprite.from('/pixi-react/img/bunny.png')
bunny3.anchor.set(0.5)
bunny3.x = 75
bunny3.y = 75
container.addChild(bunny3)
I spent some time fighting with PixiJS and React to get them to work together, but I finally got it working.
Getting started
I set up a sample project on GitHub that you can use to follow along. The sample project covers the basics of using PixiJS in React, but I will go over the main points here.
You will need a recent version of Node.js installed to run the sample project. You can check your version with node -v.
This is what I currently have installed:
$ node -v
v19.5.0
After you have downloaded the sample project, you can install the dependencies with npm install.
$ npm install
and then start the development server with npm run dev.
$ npm run dev
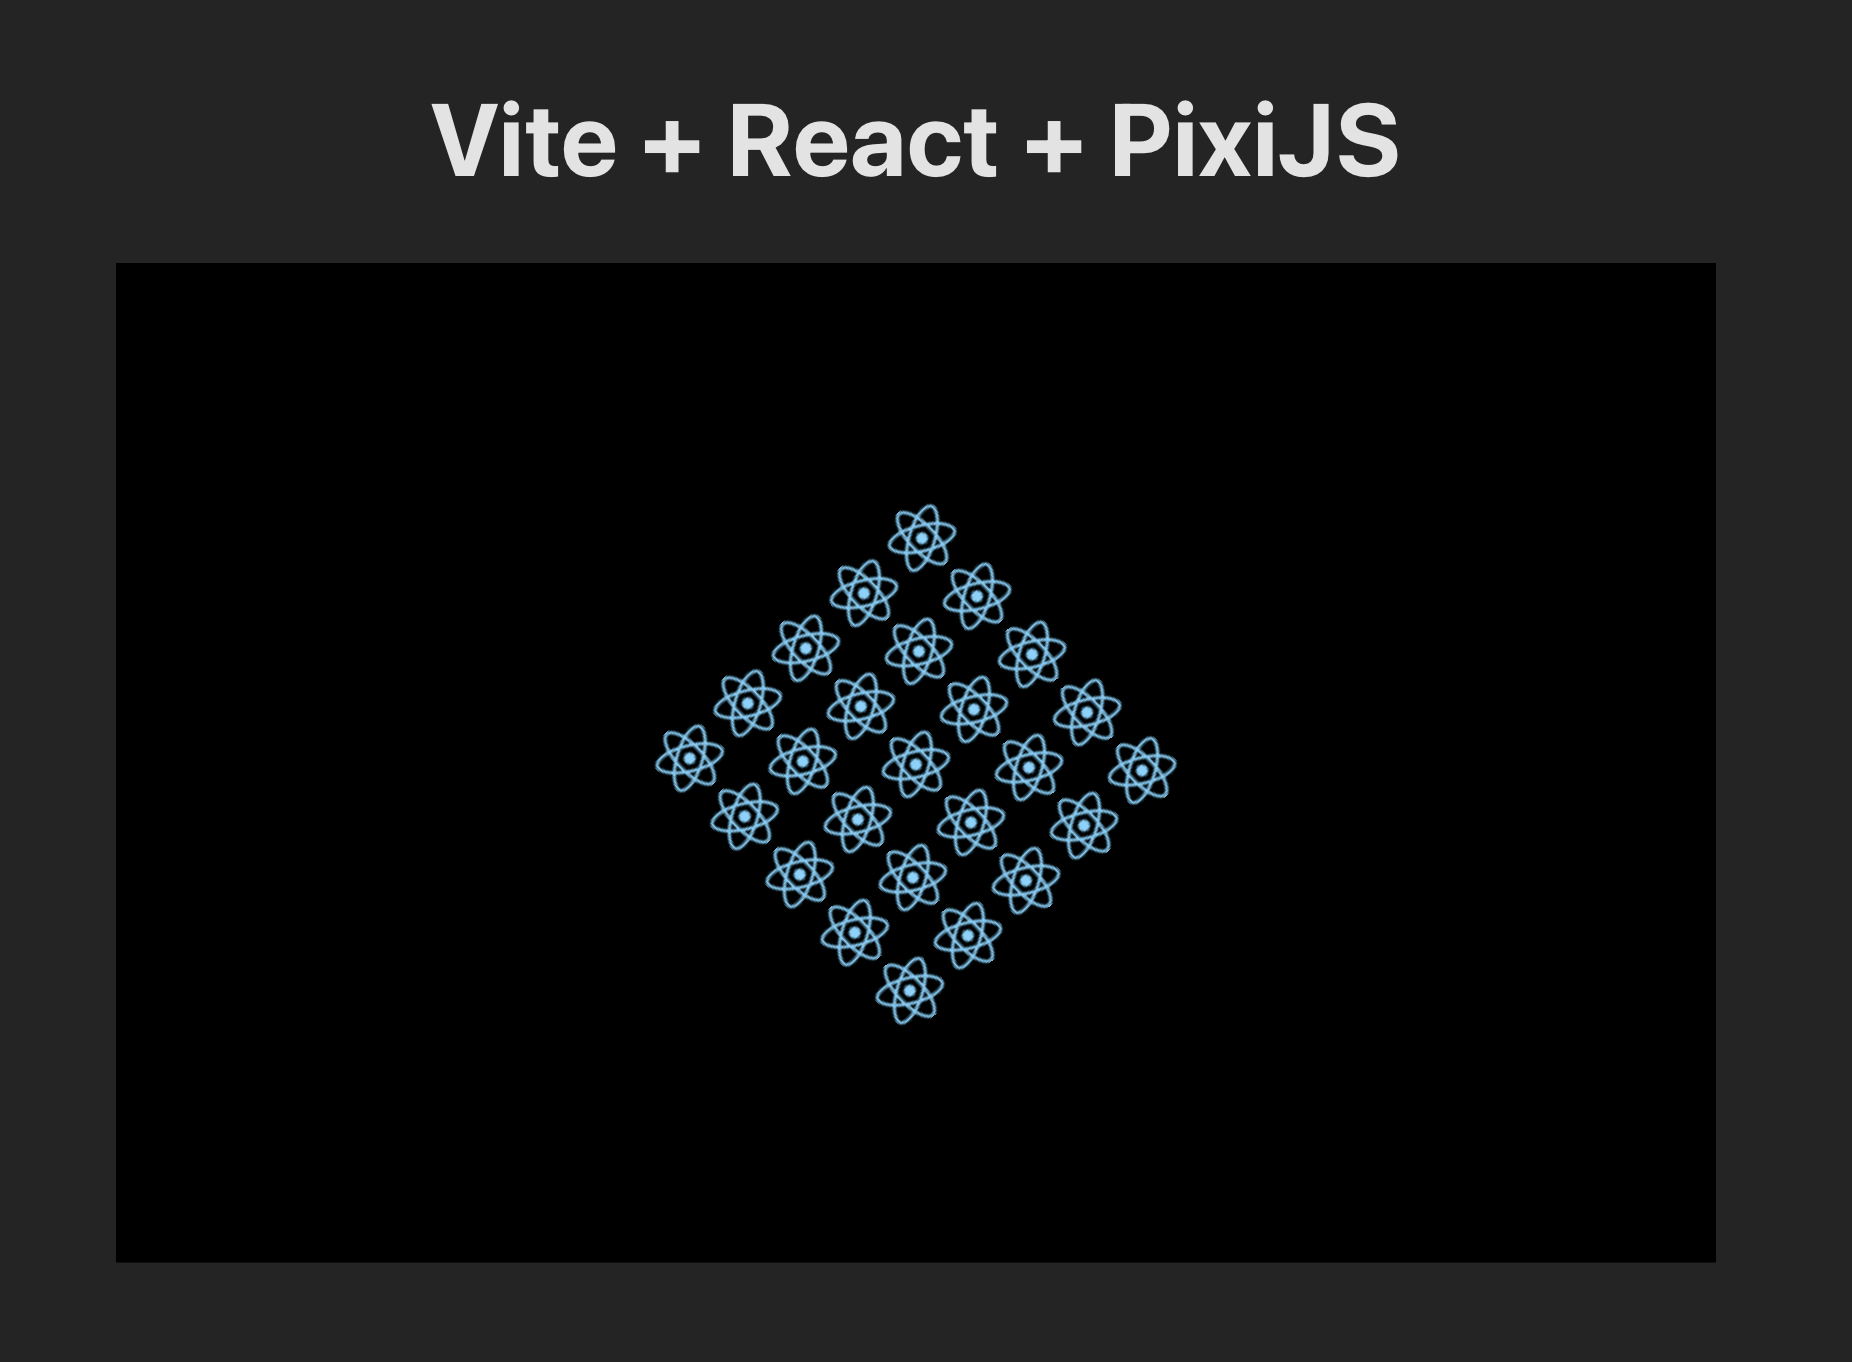
After the development server starts, you can navigate to http://localhost:5173/ to see the sample project. You will see a simple web app with an animation of React logos. This is similar to the example in the PixiJS getting started guide.
Setting up PixiJS
There are two PixiJS packages that we need to install to use PixiJS in React. One is the main PixiJS package, and the other is the React wrapper.
$ npm install pixi.js @pixi/react
Creating a React wrapper
Now that we have PixiJS installed, we can create a React component to wrap the PixiJS code. We can create a Pixi Canvas by adding a Stage component to our App.
import { Stage } from "@pixi/react";

function App() {
  return (
    <>
      <h1>Vite + React + PixiJS</h1>
      <Stage width={800} height={500}>
      </Stage>
    </>
  );
}
This will create a blank canvas to which we can add a custom React Pixi component.
import "./App.css";
import PixiApp from "./pixi";
import { Stage } from "@pixi/react";

function App() {
  return (
    <>
      <h1>Vite + React + PixiJS</h1>
      <Stage width={800} height={500}>
        <PixiApp />
      </Stage>
    </>
  );
}
Here is the PixiApp component:
import { useApp } from '@pixi/react';

export default function PixiApp() {
  let app = useApp();
  return (
    <></>
  );
}
The useApp hook gives us access to the PixiJS application instance.
This is what we need to execute the PixiJS code directly. We could start
executing PixiJS code here, but I prefer to keep the PixiJS code separate from the React code.
Let's add another component to hold the PixiJS code.
import { Container} from 'pixi.js';

export default function run(app) {
    const container = new Container();
    app.stage.addChild(container);
}
Then we can adjust our PixiApp component to use the run function.
import { useApp } from '@pixi/react';
import run from './pixi-example';

export default function PixiApp() {
  let app = useApp();
  app.stage.removeChildren();
  run(app);

  return (
    <></>
  );
}
Note that we remove all of the children on from the stage before running the PixiJS code so the PixiJS code can be run multiple times without adding more children to the stage. There are other ways around this problem, but this is the simplest workaround when re-rendering react components.
Also, if you need to access the Window, you will need to call the run function in a useEffect hook.
import { useApp } from '@pixi/react';
import run from './pixi-example';

export default function PixiApp() {
  let app = useApp();

  useEffect(() => {
    app.stage.removeChildren();
    run(app);
  }, [app]);

  return (
    <></>
  );
}
Wrapping up
Now that we have the React wrapper set up, we can start writing PixiJS code.
import { Container, Sprite, Texture} from 'pixi.js';
import reactLogo from './assets/react.svg'

export default function run(app) {
    const container = new Container();
    app.stage.addChild(container);

    // Create a new texture
    const texture = Texture.from(reactLogo);

    // Create a 5x5 grid of bunnies
    for (let i = 0; i < 25; i++) {
        const logo = new Sprite(texture);
        logo.anchor.set(0.5);
        logo.x = (i % 5) * 40;
        logo.y = Math.floor(i / 5) * 40;
        container.addChild(logo);
    }

    // Move container to the center
    container.x = app.screen.width / 2;
    container.y = app.screen.height / 2;

    // Center logo sprite in local container coordinates
    container.pivot.x = container.width / 2;
    container.pivot.y = container.height / 2;

    // Listen for animate update
    app.ticker.add((delta) => {
        // rotate the container!
        // use delta to create frame-independent transform
        container.rotation -= 0.01 * delta;
    });
}